
 Image 1 of 1
Train Experimenter Shield (TES)
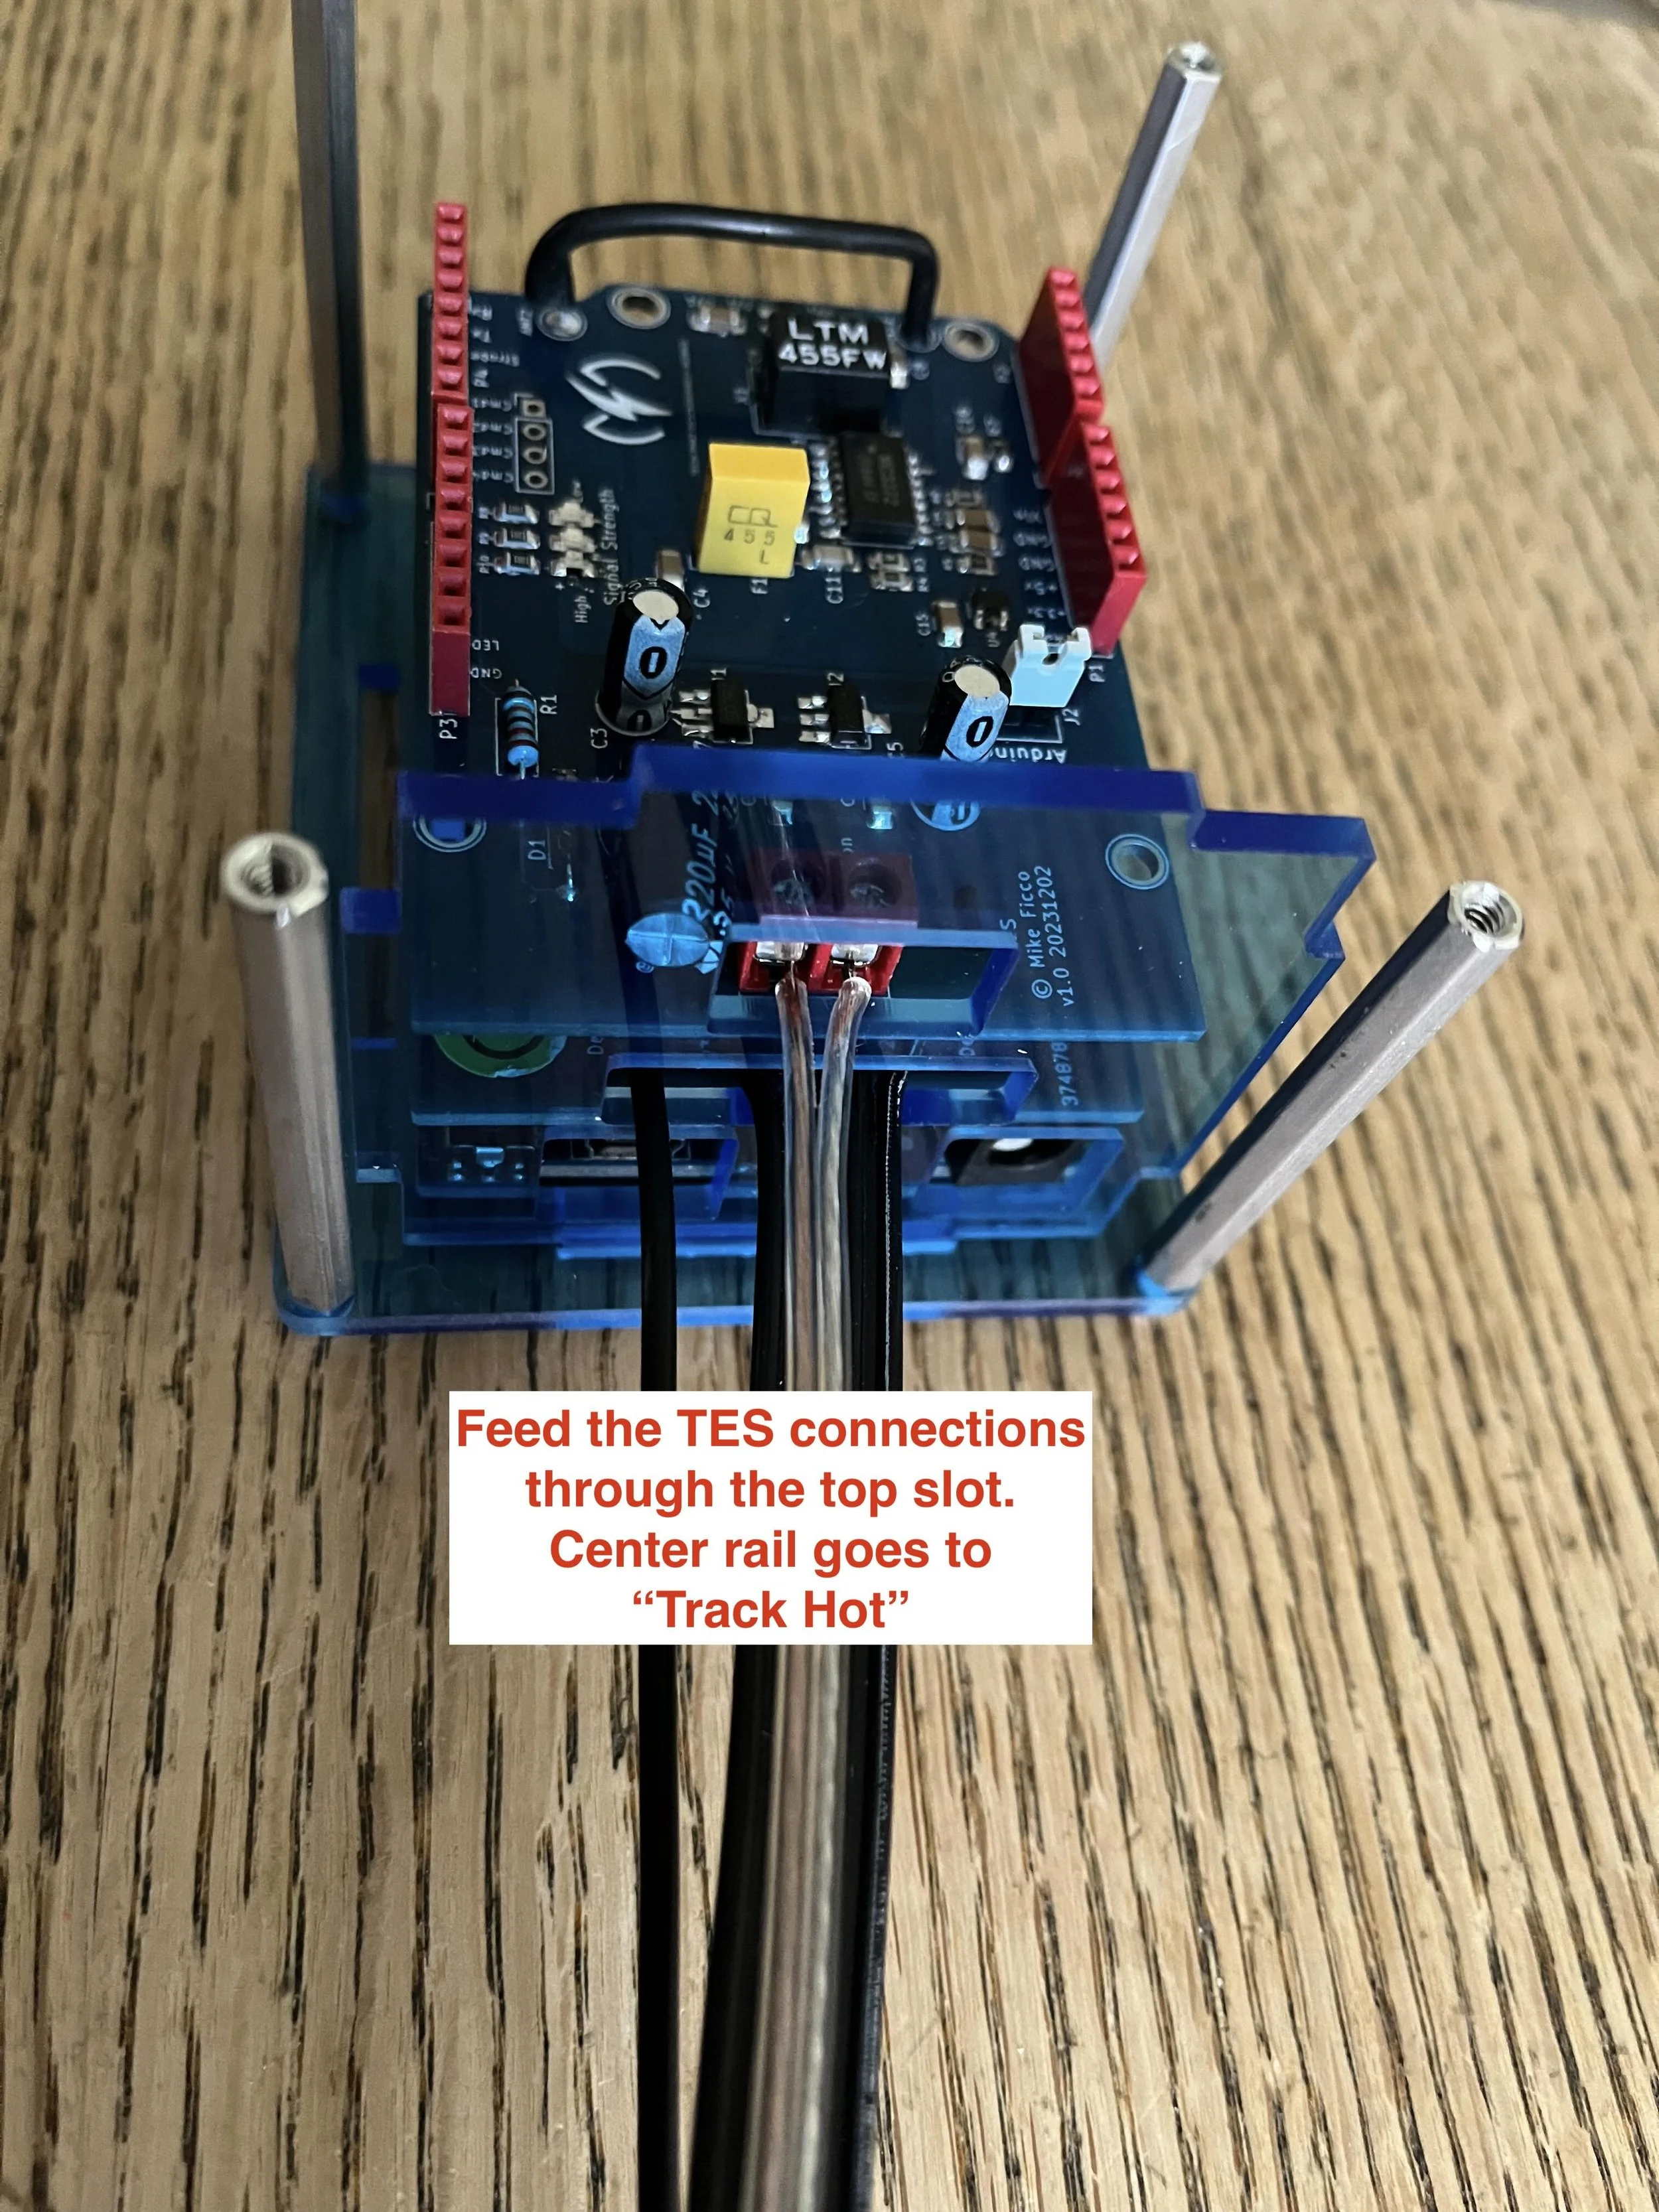


Unbox it, connect it to an Arduino Uno, install the TES Control Sketch on your Uno and you are ready to receive Lionel TrackLink commands (TCmds). Note: You will need additional hardware to act on the received TCmds. That is, you need something like a Train Actuator Shield (TAS) to utilize the signals on Arduino Uno digital pins 4, 5, 6, and 7 (Match Commands 1, 2, 3, & 4). You can, of course, build your own Shield to control any device you want. See the demo video "How to set Command Matches" for a tutorial on creating these "Match Commands".
Read the TES User Manual for safety and usage information. Make sure to connect the "Track Hot" input to the track center rail and the "Track Common" input to one of the track outside rails. DO NOT REVERSE THESE. The TES pictured here (v1.2) is the newest version with upgraded power to the Arduino Uno. It can handle the needs of the TAS Relay, but read "More Than You Ever Wanted To Know About Arduino Uno Power" in the TAS User Manual.
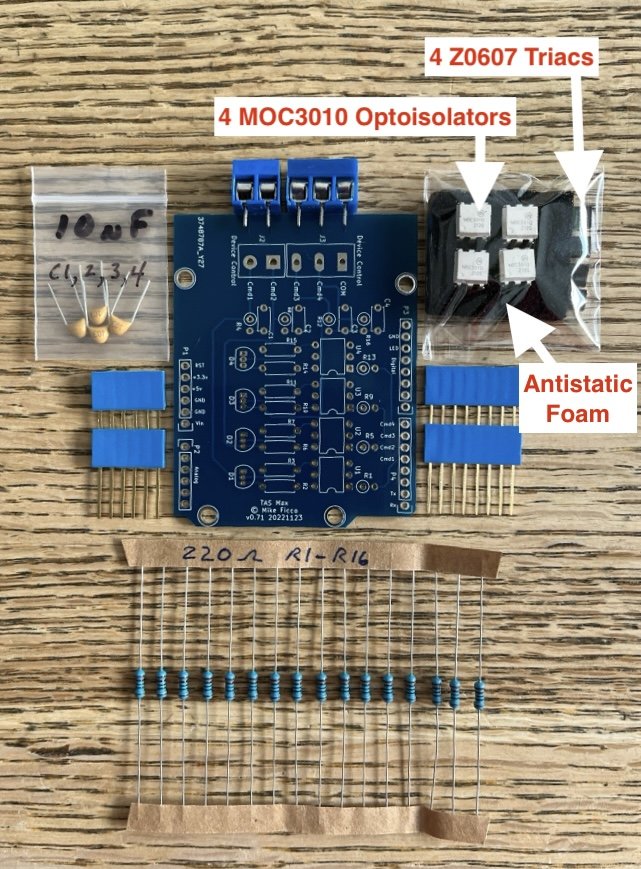
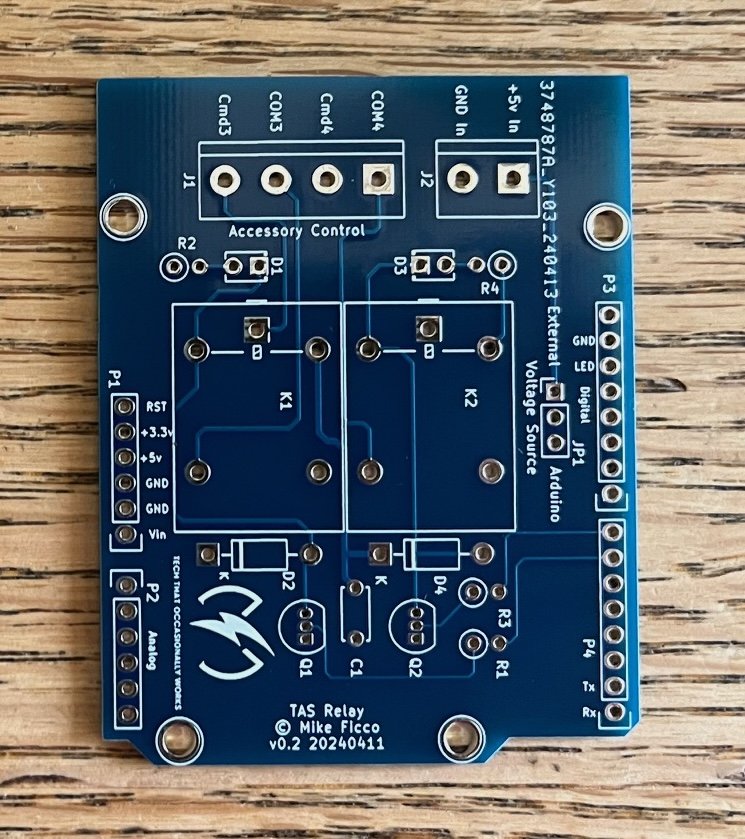
All images should be considered representative. That is, the PCB or color may change and components, logo, whatever… may be added, removed, revised, or moved. What you receive may look different – but it will work as described.